Overview
A short blog on how to install and run the latest version of OpenWRT using QEMU, on a machine with Apple M1. This is similar to my previous blog post on How to build a Debian MIPS image on QEMU.
This guide uses the OpenWRT ARMv8 edition, which runs nicely on a Apple M1 chip. It also covers how to install the LuCI web management interface.
Download and Install
Select and download the necessary files from the link below. I will be using OpenWRT version 23.05.3 based on ARMv8. These can be found on the official website here.
You only need the following files:
generic-initramfs-kernel.bin(for recovery mode)openwrt-armsr-armv8-generic-squashfs-combined.imgu-boot.bin(found here)
Also make sure the qemu software is actually installed. On macOS systems, you could use brew install qemu, this will install various systems (not necessary), for example my machines supports:
qemu-system-aarch64       qemu-system-hppa          qemu-system-microblazeel  qemu-system-nios2         qemu-system-riscv64       qemu-system-sparc
qemu-system-alpha         qemu-system-i386          qemu-system-mips          qemu-system-or1k          qemu-system-rx            qemu-system-sparc64
qemu-system-arm           qemu-system-loongarch64   qemu-system-mips64        qemu-system-ppc           qemu-system-s390x         qemu-system-tricore
qemu-system-avr           qemu-system-m68k          qemu-system-mips64el      qemu-system-ppc64         qemu-system-sh4           qemu-system-x86_64
qemu-system-cris          qemu-system-microblaze    qemu-system-mipsel        qemu-system-riscv32       qemu-system-sh4eb         qemu-system-xtensa
qemu-system-xtensaeb
This guide uses qemu-system-aarch64, which supports ARMv8 CPU.
QMEU
Run the following command inside the folder where both u-boot.bin and openwrt-armsr-armv8... are located. This will start the emulator and begin the initial boot process.
qemu-system-aarch64 -cpu cortex-a72 -m 1024 -M virt,highmem=off -nographic \
-bios u-boot.bin \
-drive file=openwrt-armsr-armv8-generic-squashfs-combined.img,format=raw,if=virtio \
-device virtio-net,netdev=net0 -netdev user,id=net0,net=192.168.1.0/24,hostfwd=tcp:127.0.0.1:1122-:192.168.1.1:22,hostfwd=tcp:127.0.0.1:8080-192.168.1.1:80 \
-device virtio-net,netdev=net1 -netdev user,id=net1,net=192.168.2.0/24
The options are explained below:
-cpu cortex-a72use a specific ARM CPU type-m 1024use 1GB of RAM-M virt,highmem=offtype of machine-nographicno window (use terminal)-bios u-boot.binuse bootloader file-drive file=...use the.imgfile as disk drive-device virtio-net,netdev=net0set up a network device- set network address range
net=192.168.1.0/24 - enable host port forwarding with
hostfwd=tcp:127.0.0.1:1122-:192.168.1.1:22e.g. for SSH
- set network address range
When you run this command, you should be presented with a shell in your terminal. If you do not see any output, you can try to append -serial stdio to get to standard output.
Here is an example of what you should see:
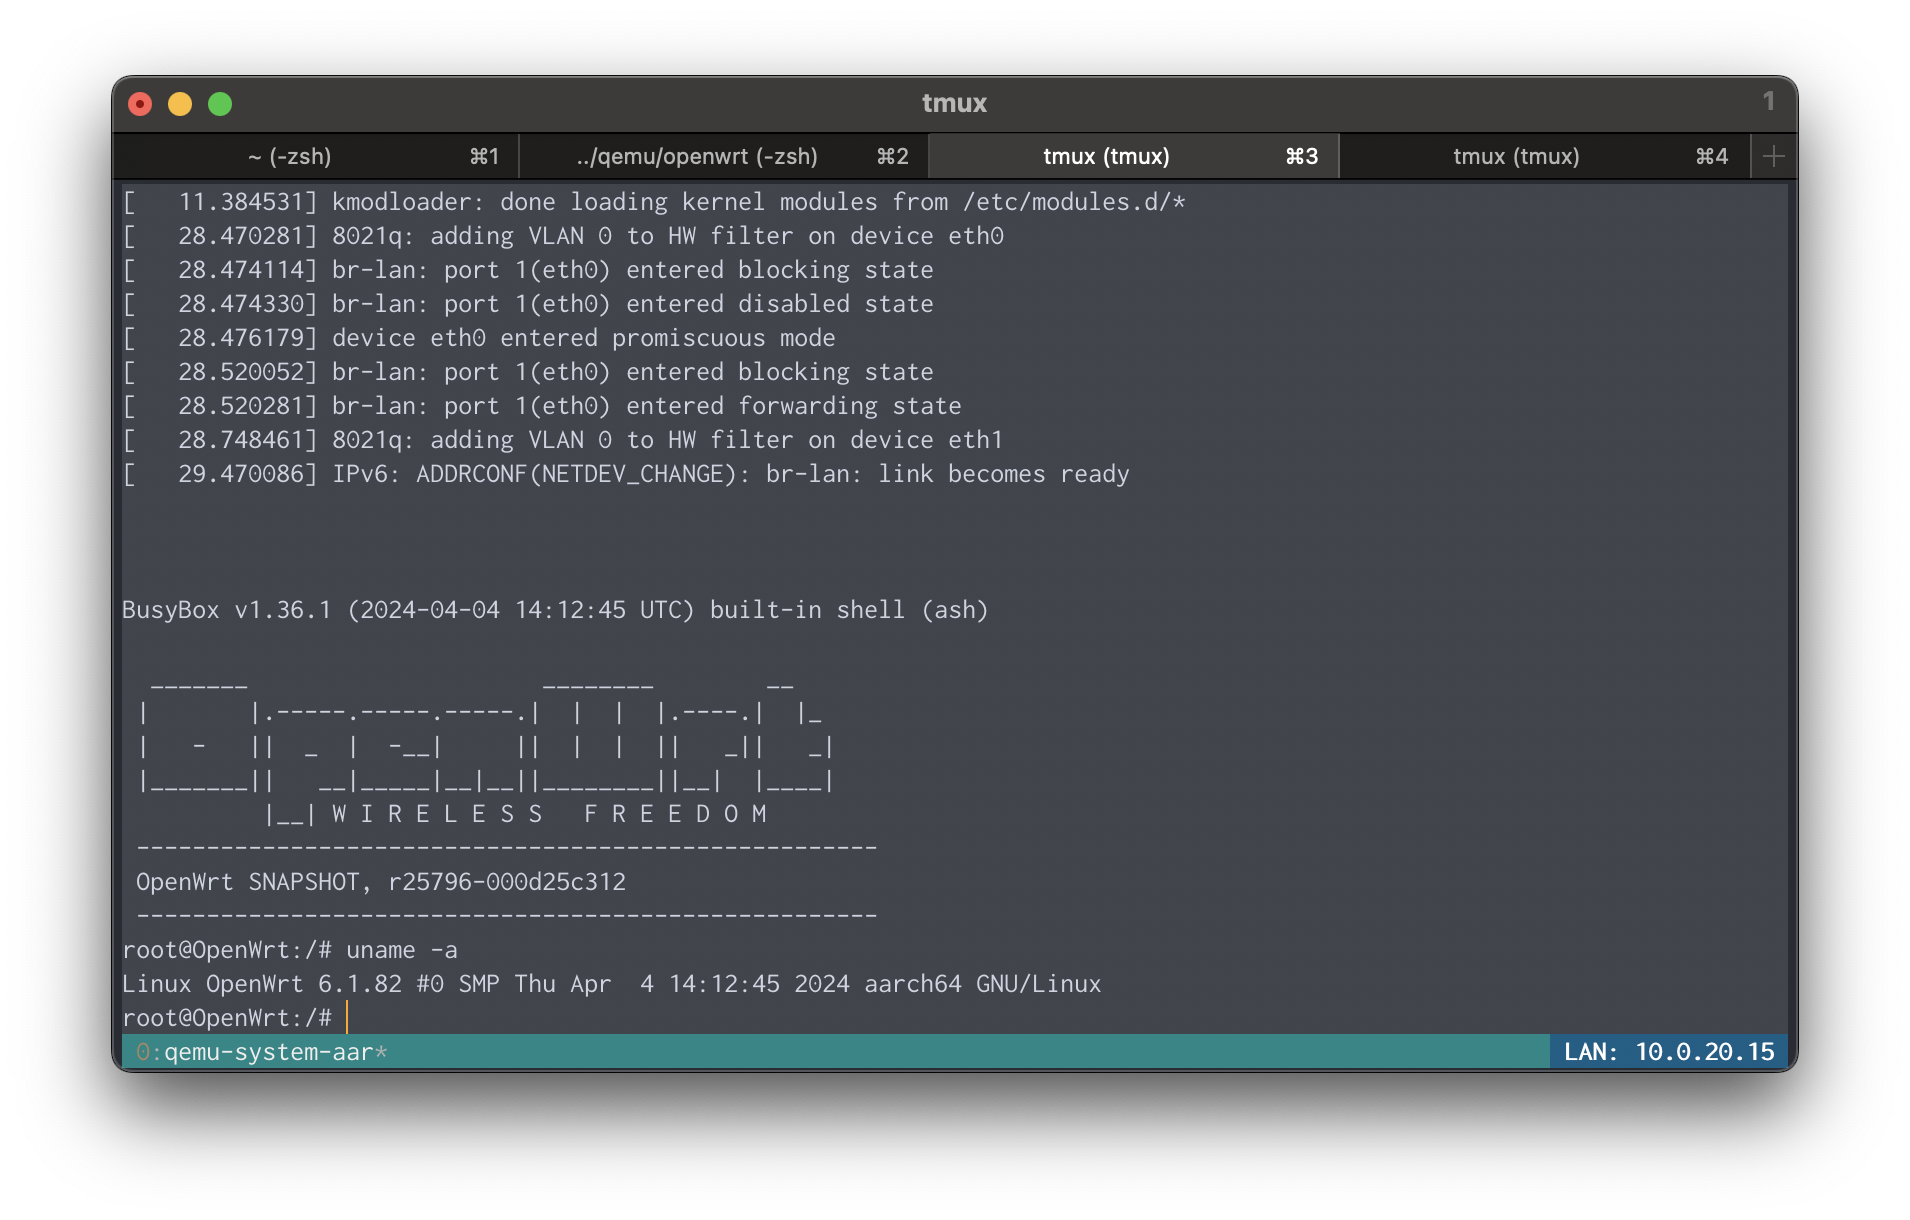
Press [ENTER] to use the shell.
Web interface
The default installation of OpenWRT does NOT come with a web interface. To get that installed, you can use the working command-line interface to update the package cache, and then install it. I will be using the LuCI package.
While logged-in shell, type:
opkg update
opkg install luci
You’ll notice a new process called uhttpd is now running on port 80.
root@OpenWrt:~# netstat -tupan
Active Internet connections (servers and established)
Proto Recv-Q Send-Q Local Address           Foreign Address         State       PID/Program name
tcp        0      0 127.0.0.1:53            0.0.0.0:*               LISTEN      2206/dnsmasq
tcp        0      0 0.0.0.0:22              0.0.0.0:*               LISTEN      1370/dropbear
tcp        0      0 192.0.2.15:53           0.0.0.0:*               LISTEN      2206/dnsmasq
tcp        0      0 0.0.0.0:80              0.0.0.0:*               LISTEN      6805/uhttpd
This is the web management service.
Note: To not expose all interfaces, you can set it to forward to localhost only (host machine). For example, using this command hostfwd=tcp:127.0.0.1:1122-:192.168.1.1:22,hostfwd=tcp:127.0.0.1:8080-192.168.1.1:80, which forwards two ports to a specific VM IP address and port. I can then access each service on the forwarded port e.g. ssh root@localhost -p 1122.
Here’s an example of the OpenWRT LuCI web interface from the host system:
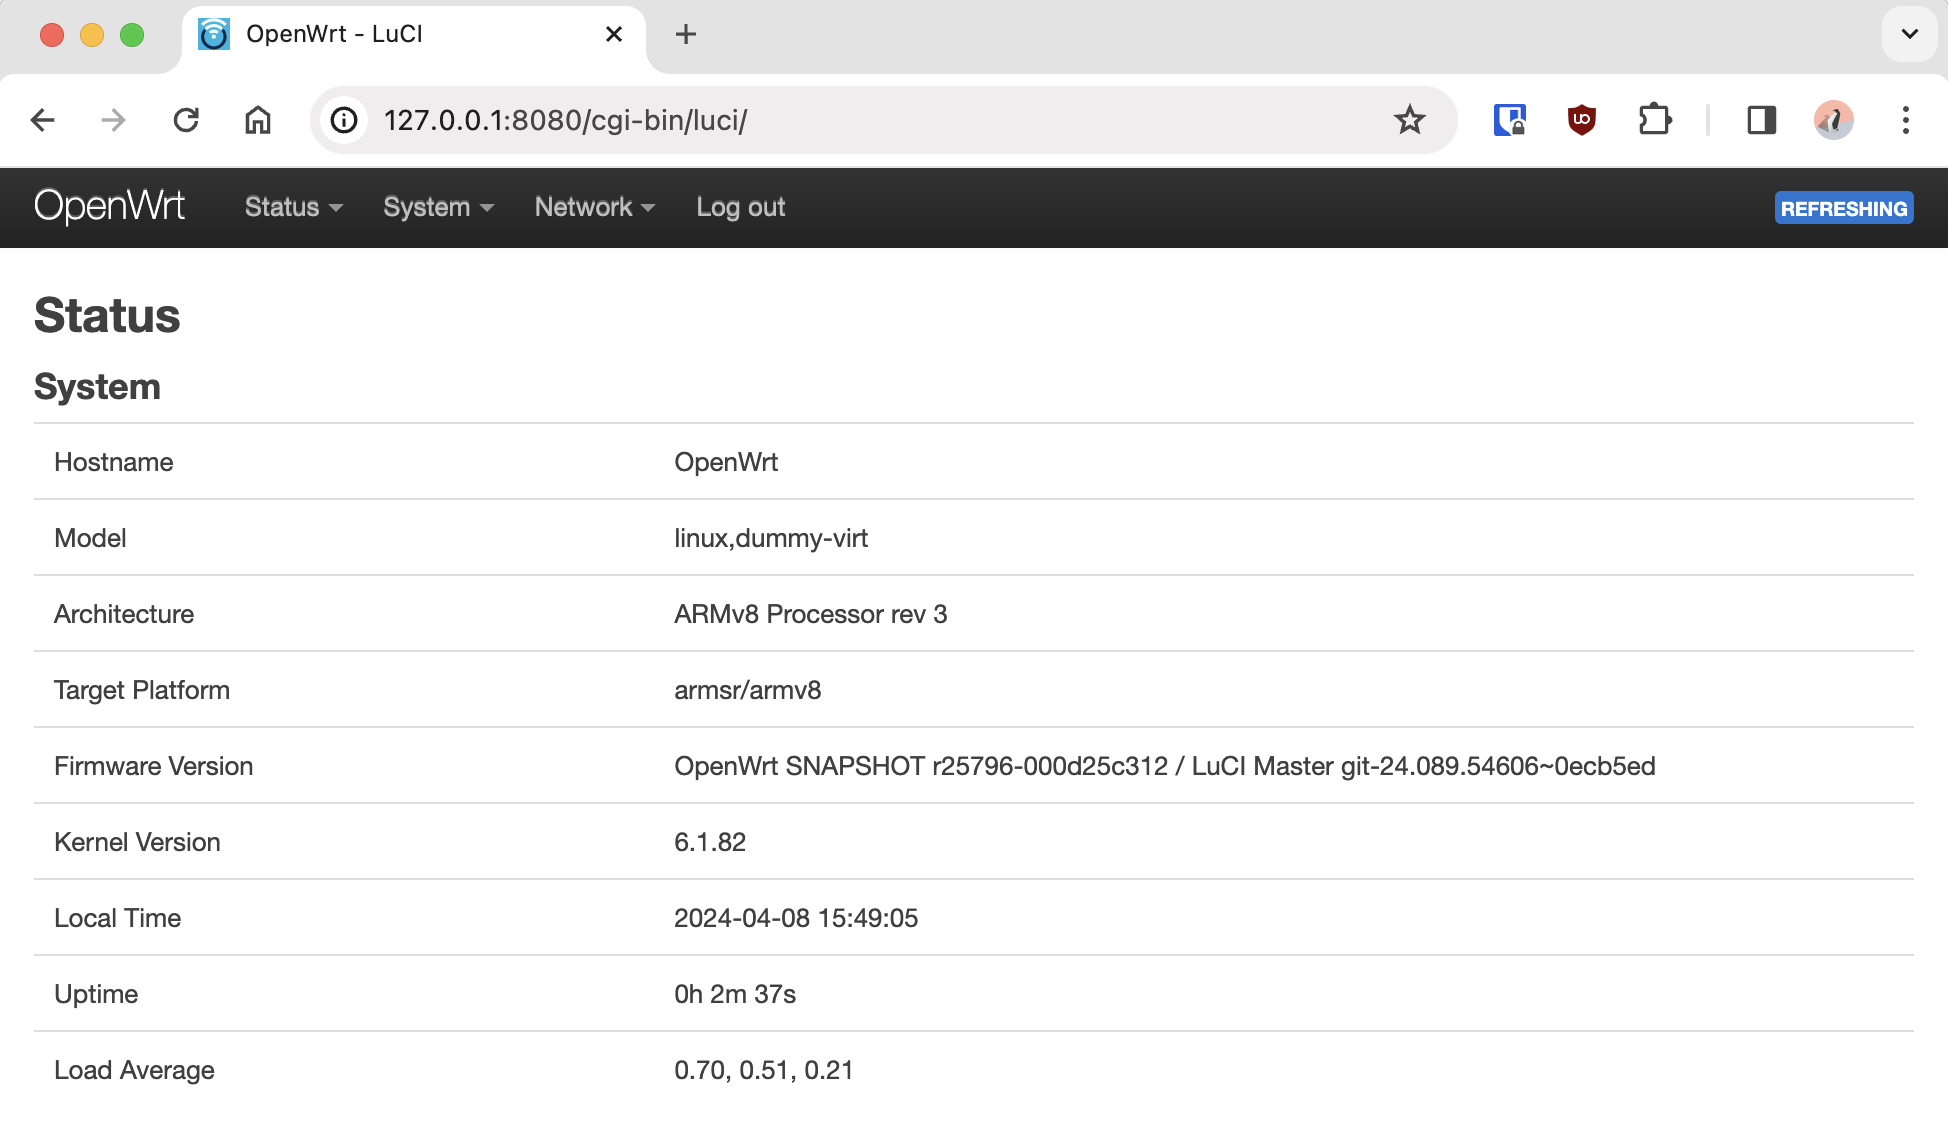
Notice the model linux,dummy-virt, indicating that it’s not running on real hardware.
Recovery mode
To enter OpenWRT recovery mode you would have to append -kernel along with the intitramfs file to the qemu command. In this mode, the file system will be mounted as read-only. Here is a complete example:
qemu-system-aarch64 -cpu cortex-a72 -m 1024 -M virt,highmem=off -nographic \
-bios u-boot.bin \
-kernel openwrt-armsr-armv8-generic-initramfs-kernel.bin \
-drive file=openwrt-armsr-armv8-generic-squashfs-combined.img,format=raw,if=virtio \
-device virtio-net,netdev=net0 -netdev user,id=net0,net=192.168.1.0/24,hostfwd=tcp:127.0.0.1:1122-:192.168.1.1:22,hostfwd=tcp:127.0.0.1:8080-192.168.1.1:80 \
-device virtio-net,netdev=net1 -netdev user,id=net1,net=192.168.2.0/24
Bonus
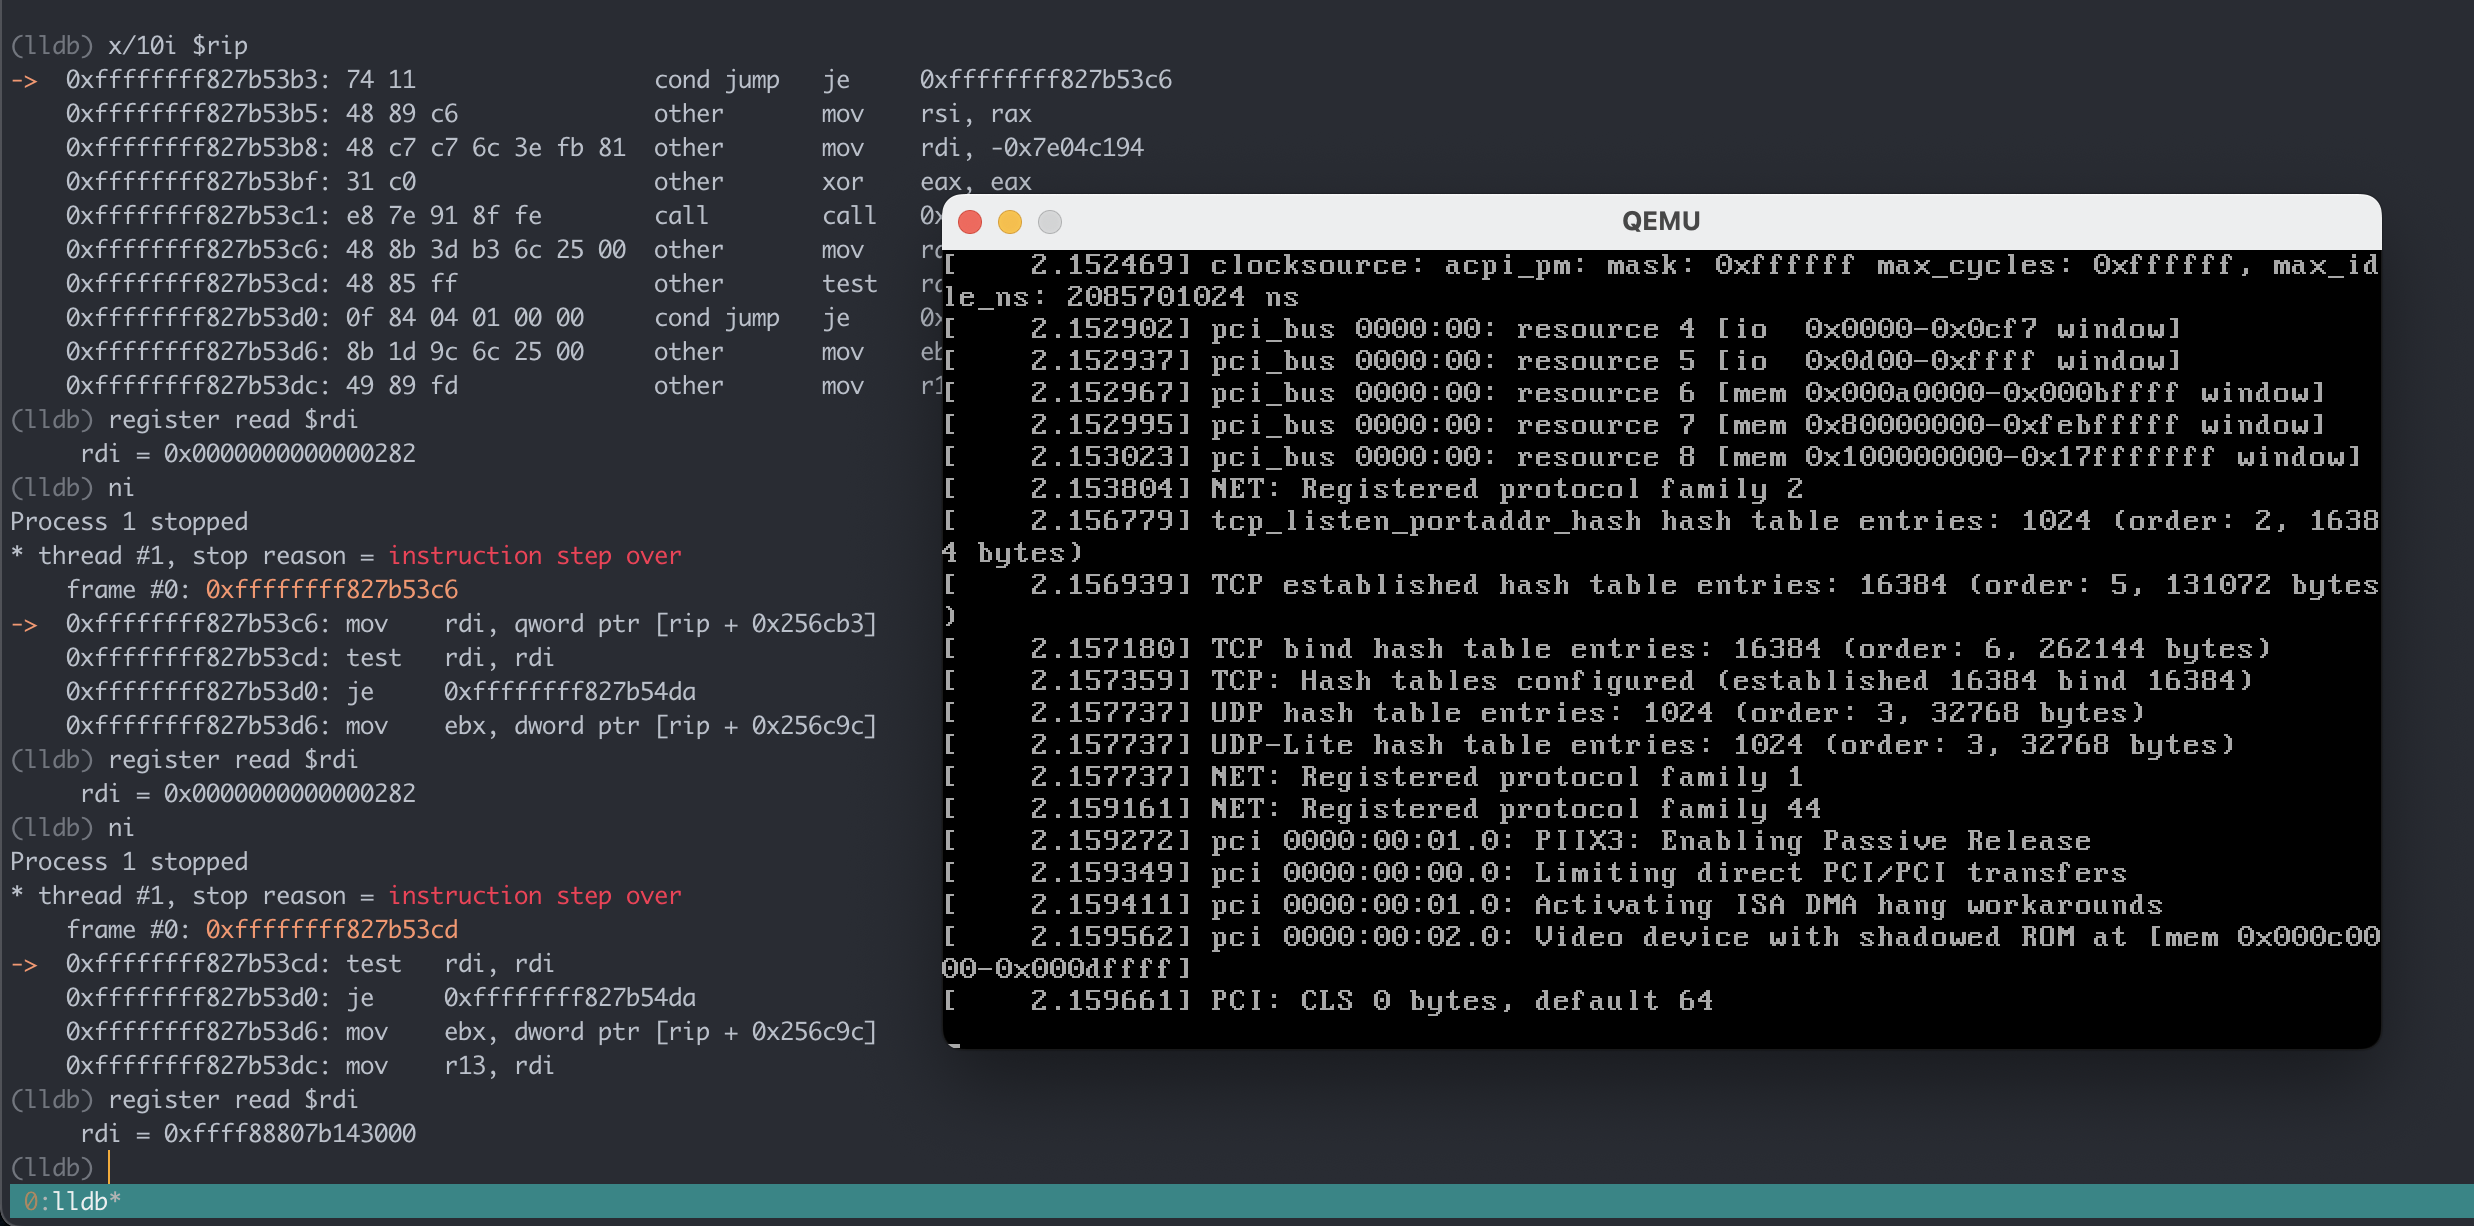
A really nice feature of qemu is that you can attach a gdb debugger, and step through a process. This is extremely useful for identifying difficult bugs and exploit development.
These options are:
-S              freeze CPU at startup (use 'c' to start execution)
                the guest without waiting for gdb to connect; use -S too
-s              shorthand for -gdb tcp::1234
For example, a screenshot from another project where I had a x86 vm running on my M1 system, which I attached to using lldb with the option gdb-remote localhost:1234: